The Ford Explorer is a beast with so many features to love. Most people are quickly drawn away by its aesthetics and go to great lengths to ensure it remains in pristine condition. But under the hood of this great car lies a feature we depend on every day but receives less attention until something goes wrong. After all, you will not go anywhere if the vehicle won’t start. That is how important the charging system is, and if you ever see the check charging system message on your Ford Explorer, then continue reading to know what it means and what you should do to get rid of it.
What is the charging system, and why is it so important?
The best way to begin is by talking about the charging system. This is more or less the same in every car, with little modifications that give it a personalized touch. In the Ford Explorer, the charging system consists primarily of three main components; the battery, which stores electric energy, the alternator, which generates electric power and the Electronic Control Unit, which monitors and optimizes the entire process.
These components work hand-in-hand to power all the electrical components in the vehicle. This includes the AC, radio, headlamp, fuel injector, sensors, dashboard indicators, control screen, plugs, etc. It is easy to see how important the charging system is, considering that most modern cars, including the Ford Explorer, have many features that make them a pleasure to drive. All these electronic components will be affected if the charging system becomes faulty.
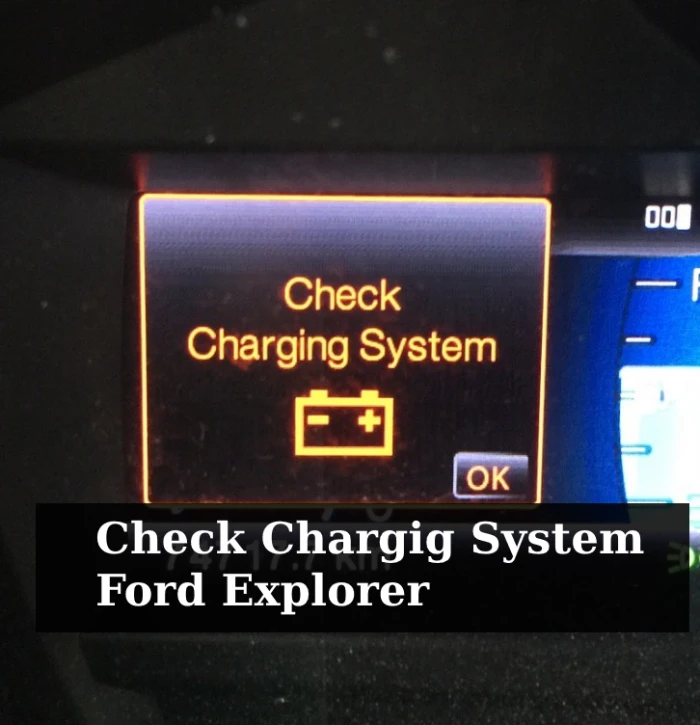
Here’s what the Check Charging System Warning Mean on a Ford Explorer
The scary “Check Charging System” notice on your Ford Explorer dashboard might indicate a number of problems with your vehicle’s charging system. There are various probable explanations for this signal, ranging from a malfunctioning alternator to a weaker battery, a frayed alternator belt to a faulty voltage regulator.
Ignoring the warning might result in a low battery and a slew of additional problems that can jeopardize your vehicle’s performance. Though the warning may magically disappear in certain cases if the problem is just temporary, it is still recommended that a professional analyze the charging system to establish the core of the problem and execute any required repairs. When it comes to guaranteeing optimal performance, time is important.
Symptoms of a faulty charging system
The check charging system message shows up when there is a fault in the charging system. Considering the complexity of this system, the problem could come from any one of its interconnected components. Here I have narrowed down the four most common symptoms of a faulty charging system.
Dead battery
The battery is a critical component in the charging system of any car. The Ford Explorer comes equipped with the same 12v battery used in other vehicles. Everything else, like the battery group size, reserve capacity, and cranking amps (cold or hot), depends on the model, manufacturing year, and trim size of your Ford Explorer. Whatever the case, the moment the battery is dead, your Ford’s charging system will start acting up.
A dead battery can be because the battery is worn out and can’t hold a charge for long or because the battery is not being charged. You’d have to run some checks to know precisely the cause. If the battery is worn out, then you get it replaced. But if the battery is still okay, then the problem could result from corrosion on the battery terminals, a problem with the wiring, or a faulty alternator.
Dimming headlights
Another sign of a faulty charging system is low or dimming headlights. The headlights are powered by the battery when the engine is switched off. But when the engine is running, the alternator powers the headlights and several other electrical components in the vehicle. So if you notice your headlights aren’t as bright as they should be, you need to check if the battery or alternator is functioning properly. Sometimes the issue may be with something other than the battery or alternator but with the drive belt.
Slow engine crank
There are a few things as frustrating as trying to start your car early in the morning to realize it won’t start. If that happens, it’s high time you bring out the jump-start cables. There is more than one reason for a hard start, but top on the list is a dead battery, but it could also be a faulty alternator or ECU. The only way to know for sure is by checking each component to determine which is defective.
Warning lights on the dashboard
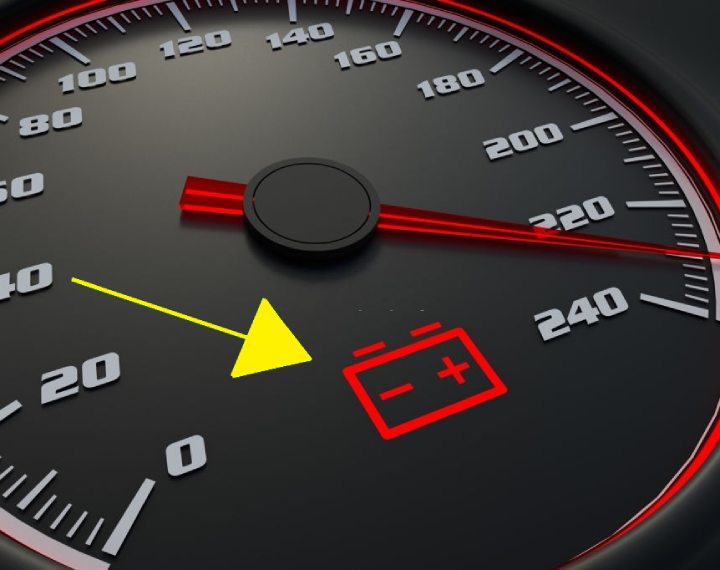
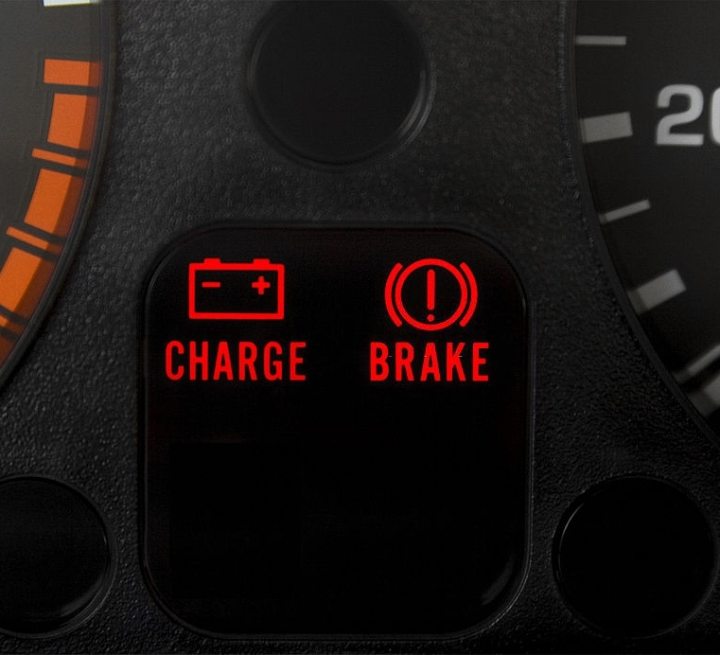
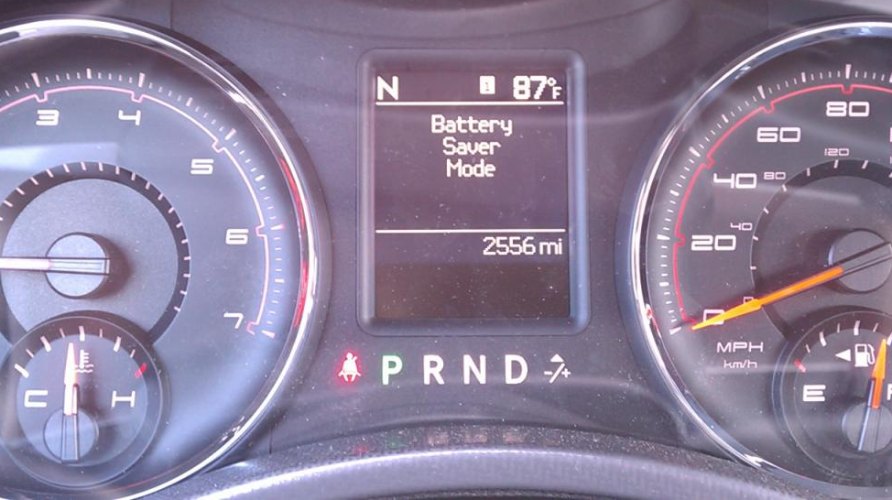
The dashboard of the Ford Explorer is like that of most modern cars, with all kinds of indicators, gauges, and even a display screen. With it, you can monitor your vehicle to know when there is a problem. This information will be displayed in the form of a message like the “check charging system” message or a warning light with an icon just like the red battery icon that shows up on the dashboard when the battery is not being charged or has been completely drained.
How to check the charging system
Recall I mentioned that the charging system has three essential components: the battery, alternator, and ECU, which regulate the voltage. So whenever you encounter an issue with the charging system, it is vital to check these three components first. Below is a step-by-step guide on how to go about this.
Check the battery
There are two ways of inspecting the battery on your Ford Explorer.
Check the battery terminals for corrosion – the chemical reaction within the battery leaves corrosion residues on the battery terminals. These residues build up over time and could easily disturb current flow at the terminals. If you see a white, blue, or greenish substance on the terminal, then this could be the problem. You’d have to clean the battery terminals and check to see if the battery indicator icon or the charging system message is gone.
Measure the voltage output using a multimeter – sometimes, the problem may be caused by a dead battery. The Ford Explorer has a 12v battery which means on a full charge. You should see about 12.6 volts (when the car is off). With the engine on, the voltage should fall between 13.5 and 14.5. Follow these steps to check the battery with a multimeter.
- First, remove excess charge by turning on the headlights (with the engine off) for 2 minutes.
- Then make sure the multimeter is set to read DC voltage by plugging in the red wire to the port labeled V.
- Set the multimeter to 20 volts.
- Connect the red wire of the multimeter to the battery’s positive terminal and the black wire to the negative terminal of the battery.
- If the multimeter gives a reading below 12.6 (with the engine off), your battery is probably bad and needs to be replaced.
- Now turn the engine on and retake the reading. The voltage should drop instantly to about 10 volts immediately after the engine comes on. Anything lower is a sign that the battery can’t store enough charge.
- After the engine runs for a while, the multimeter reading should climb up to about 14 or 14.5. If that’s not the case, you need to charge or replace the battery.
If the battery is still relatively new and there is no sign of corrosion on the terminals, move to the next step.
Check the alternator
The alternator generates electricity to power the battery and other electronics in the car by converting mechanical energy to electricity. If the alternator is faulty, the battery won’t charge, and all the vehicle’s electrical load will be transferred to the battery, causing it to drain very quickly. To check the alternator, connect the multimeter to the positive and negative terminals of the battery, as described above, before starting the engine.
You should see a reading of 13.5 V to 14.5 V. Now turn on all the electrical accessories in the car. The voltage should drop slightly to about 14 Volts. If you see a reading below 12 volts, the alternator is not supplying any current to the battery. On the other hand, if the voltage reading rises and falls, the likely cause of this is a worn-out serpentine belt.
The serpentine belt (or drive belt) transfers mechanical power from the engine to the alternator. Over time, this belt gets worn out and becomes loose. When this happens, the belt will occasionally slip out, and the rotational motion quality becomes poor. As a result, the alternator will generate a lower current which will trigger the battery indicator light on the dashboard. Common signs of a bad drive belt are squealing noise from the engine compartment, visible cracks on the belt, and a burning smell.
Check the wiring for signs of damage.
The charging system has several interconnected wires. If any of these wires are damaged, it could shortcircuit the system and cause several problems. You must visually inspect the alternator and battery wires for bite marks (caused by rodents), melted wires (caused by heat or friction), and frayed wires.
Check the ECU
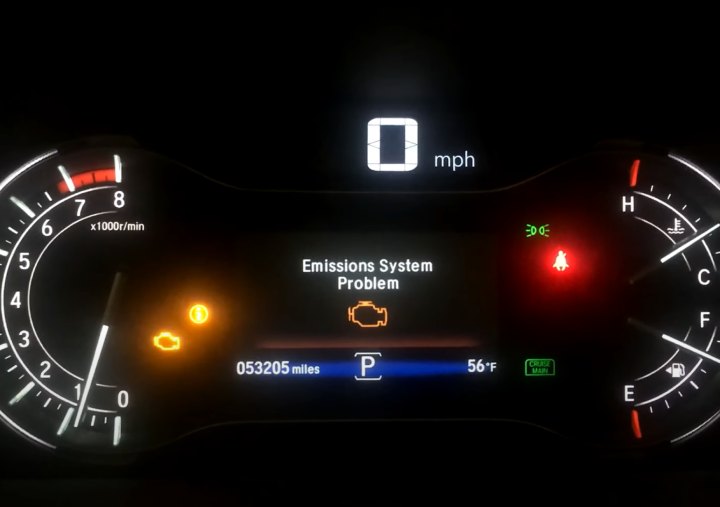
If everything checks out with the battery and alternator, there’s one final check you need to run. That’s the ECU. The ECU or engine control module regulates the voltage and controls the power supply to every other component in the vehicle. Even when you turn off the engine, the ECU doesn’t power down instantly like most other car components. When the ECU develops a fault, a check engine light will appear on the dashboard. A diagnostic test will confirm if the ECU is faulty, and you should take your vehicle to an experienced mechanic to run the diagnostics.
In summary, a faulty battery, worn-out alternator, failed voltage regulator, and loose or corroded connections are the most likely causes of failure in the charging system.
How to fix a faulty charging system
If you noticed that there’s damage in one or more components mentioned above, then here are some steps you can take to fix them:
Recondition the battery – you can restore the battery of your Ford Explorer by reconditioning the battery. This process replenishes the lost electrolyte in the battery and allows it to charge up to its full capacity. Reconditioning should be done by an experienced mechanic, and you’d have to decide if this is worthwhile or if you are better off buying a new battery.
Repair or replace the alternator or voltage regulator – the alternator is a mechanical component that can be repaired depending on what the damage is. A common problem with an old alternator is worn-out brushes. The brushes transmit current from the stator to the rotor, and as time goes on, they wear out and need to be replaced. This is easy and less expensive compared to buying a new alternator.
The same goes for the ECU. This component is heavily protected from voltage surges or shortcircuits and rarely gets damaged beyond repairs. However, it can be damaged. If that happens, you need to take it to your mechanic, who will tell you if you need to replace it with a new one.
Tightening or cleaning connections – sometimes, all you need is sandpaper (or wire brush) and a wrench. If there are no deposits around the terminals, then fix the loose connections by tightening them with a wrench and check if that resolves the problem. But if you see deposits on the terminal, you must brush them off. To do this, follow the steps below;
- Remove the cables connected to the battery terminal, starting from the negative terminal (black cable) and then the positive terminal (red cable). While doing this, ensure the wrench (or any tool you are using) doesn’t come in contact with the battery terminals.
- After carefully removing both cables, remove the battery from the vehicle and brush off the residues on its terminals with sandpaper or wire brush.
- Reconnect the cables to the battery terminals starting with the positive terminal (red cable) before the negative terminal (black cable).
Conclusion
I can’t stress the importance of checking and maintaining the charging system to ensure your Ford Explorer’s safe and efficient operation. This will save you so much trouble in the long run. You can perform most of the checkups and maintenance on your own, following the guidelines I have provided in this article. But for the most part, you will need to schedule an appointment with a professional mechanic, especially if the issue persists.