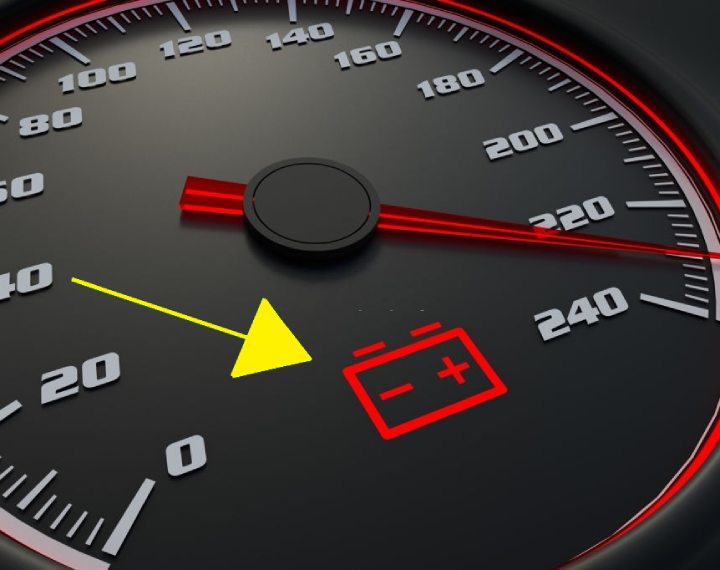
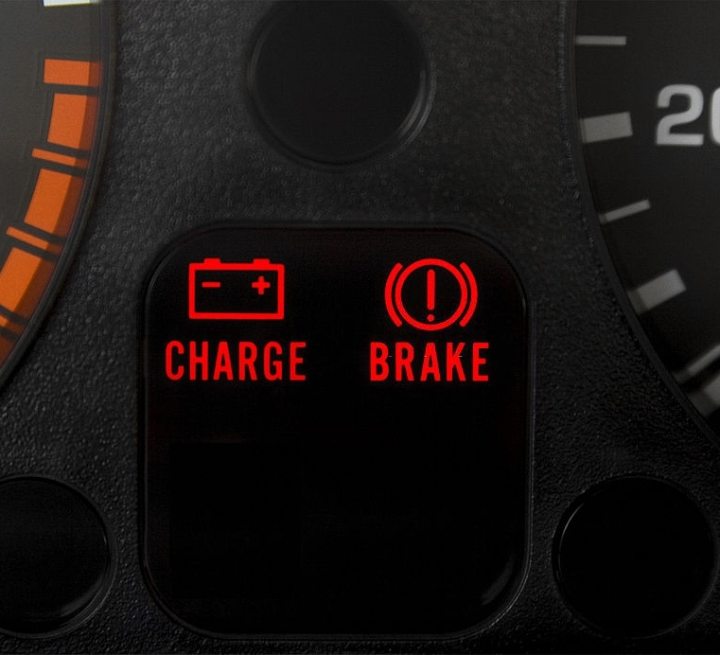
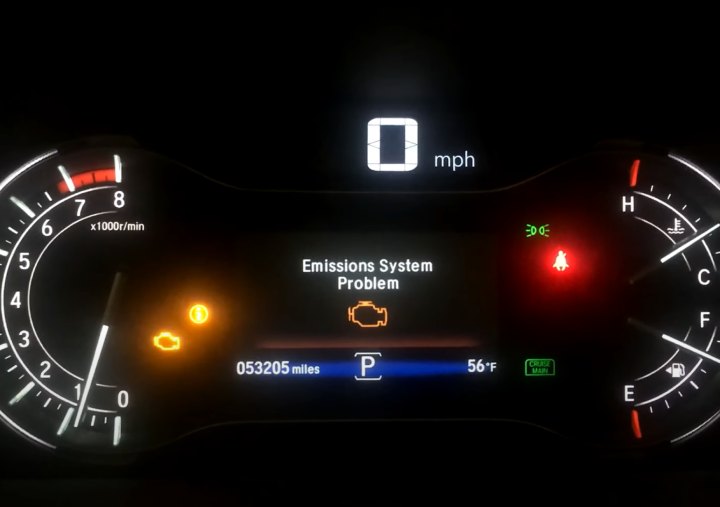
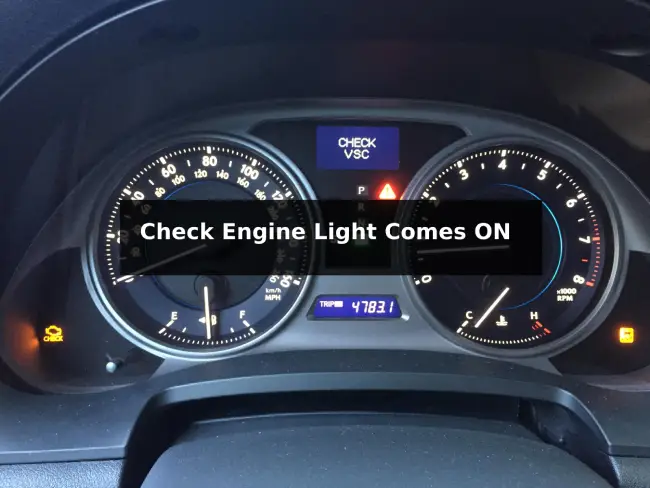
The check engine light is one of the most feared warning lights a driver can see illuminated on their dashboard. This warning light is designed to indicate any problems or faults detected by the vehicle’s on-board computer system. While there are many reasons that the check engine light may come on, one common trigger is a recent battery replacement.
When you change out your car battery, the check engine light coming on immediately after may leave you confused and frustrated. While it seems unrelated, there are a few explanations for what causes this connection between a new battery and the annoying check engine activation. Getting to the root of the problem and taking appropriate steps can help you resolve the issue quickly.
What Causes the Check Engine Light After a Battery Change?
The check engine light typically illuminates after replacing a car’s battery due to the resetting and rebooting of the vehicle’s computerized control systems. When battery power is disconnected, it erases all previous error codes and sensor data. As the computer redetects the new battery and reconnects power, it can generate false signals that trigger the check engine light.
An undercharged replacement battery, faulty electrical connections, or pre-existing issues can also cause the computer to misread voltage levels and activate the warning light. Proper diagnosis using an OBD2 scanner tool or mechanic inspection can identify the specific cause so the light can be reset after repairs are made.
But let’s discuss each of these possible causes in greater detail and see how you can diagnose and fix the culprit.
Resetting Computer Codes and Sensors
One of the main causes relates to the resetting of your car’s computer system whenever battery power is disconnected. When you disconnect and replace the battery, it erases all recorded error codes and sensor readings related to engine operation.
As the computer reboots and begins recording data again with the new battery in place, it can sometimes generate false error signals. These trigger the check engine light as it works to detect and adjust to the new power source.
Faulty Electrical Connections
Another possibility is a problem with the electrical connections made to the new battery. If the terminal connections are loose, corroded, or improperly attached, it can prevent proper electrical power from reaching key components.
The check engine light may illuminate due to inconsistent voltage reaching the computer system or sensors. Tightening connections and cleaning terminals on the battery can often resolve this issue.
Undercharged Replacement Battery
Sometimes a check engine light after battery replacement may indicate the new battery itself is faulty or improperly charged. If the battery is defective right out of the box, or if it was not fully charged before installation, it may not provide sufficient voltage to the computer systems.
The check engine light will come on in this case as the computer detects abnormal operating conditions due to the underpowered battery.
Pre-Existing Problem Not Fixed
In some cases, the check engine light was already illuminated before the old battery was replaced. If this light was on for reasons unrelated to the battery itself, the new battery will not resolve the underlying engine issue. The light will remain on or come back on shortly after install.
Any pre-existing faults stored in the computer’s memory can trigger the light again after reboot, even with a properly installed new battery.
How to Diagnose & Fix the Check Engine Light Problem
When the check engine light blinks on after replacing your car battery, determine the cause before proceeding. There are several methods to diagnose the specific issue prompting the warning light.
Check Electrical Connections
First, inspect the battery terminals and cables closely. Look for any loose connections, frayed wires, or buildup of corrosion around the terminals. Clean any corrosion with a wire brush or baking soda/water mixture. Tighten any loose clamps or connections securely.
If this fixes the issue and the check engine light shuts off, you had a simple electrical connection problem. Be sure to monitor these connections in the future to avoid the issue repeating.
Use an Onboard Diagnostic Scanner
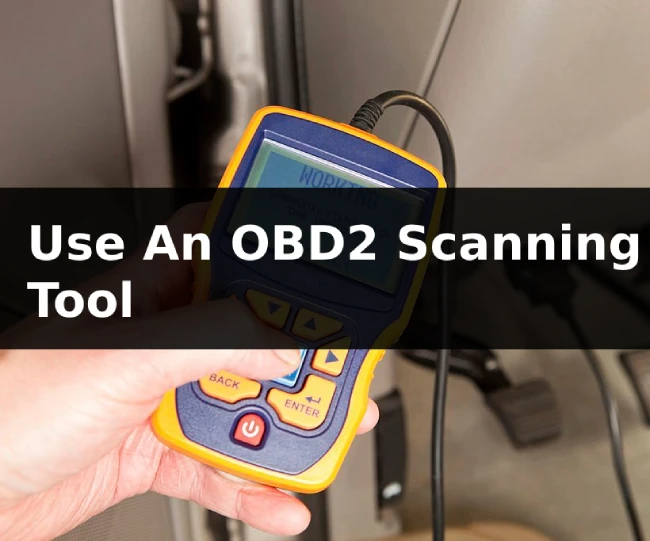
Another option is to use an OBD-II scanner tool to read any diagnostic trouble codes stored by the computer. This can provide insight into the specific sensor or system causing the problem. Compare stored codes before and after the battery change to determine if new issues emerged with the replacement.
Follow any recommendations based on the code, like checking certain electrical components or connections. Clear any erroneous codes after resolving.
Take a Test Drive
A simple road test can also help diagnose the situation. Drive for 10-15 minutes while observing if the check engine light stays on steadily or blinks intermittently. Steady illumination indicates a constant fault, while blinking suggests an active issue.
Also listen for any unusual engine noises, pay attention to accelerator responsiveness, and monitor the battery/check engine lights on the dash. This can clue you into the origin of the problem.
Consult a Mechanic
If you are still unsure about the cause, the best option is taking the vehicle to a professional mechanic for diagnosis. They have specialized computers and scan tools to read engine codes and battery charge levels. This gives them a definitive answer regarding exactly why the check engine light is on after the battery change.
In some cases, this may reveal an underlying engine problem unrelated to the battery itself. Or it may confirm issues like a faulty battery or improperly secured electrical connections. The mechanic can advise on the necessary repairs.
How to Reset the Check Engine Light After Battery Replacement
Once you determine and resolve the specific issue causing the check engine warning, you will want to reset the light. This turns off the warning indicator and clears any erroneous codes from the computer’s diagnostic history. Here are a few methods for resetting the light:
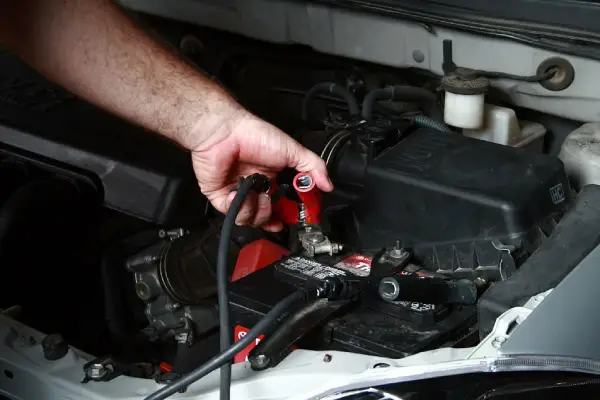
Disconnect Battery Again

One way to reset the computer and check engine light is to briefly disconnect the battery again. This may seem counterintuitive, but it essentially achieves a reset of the car’s computer system.
This clears out any faulty sensor readings that accumulated after install of the new battery. Just be sure all electrical accessories are off before disconnecting, and avoid touching the positive and negative leads together when reconnecting.
Use an OBD-II Scanner Tool
The better option is to use an onboard diagnostic scanner tool. This allows you to clear “soft” and “hard” fault codes that may be triggering the check engine light erroneously. Follow the scanner tool instructions to access the computer system and clear any pending codes related to the battery change.
Drive and Let Codes Clear Naturally
You can simply continue driving as normal and let the check engine light turn off on its own following a battery change. Keep an eye on the light over a day or two. In some cases, the computer will detect proper electrical operation and clear the faults automatically after some time. Just be sure to address any persistent illumination, as that indicates an ongoing problem.
Resetting the computer yourself or having a mechanic do so after resolving the underlying electrical issue will turn off the check engine light and get your car back to normal functioning. Persistent illumination without proper diagnosis and repair can lead to further performance issues over time.
Preventing Future Check Engine Light Issues After Battery Changes
To avoid repeating warning light activations after future battery replacements, follow these best practices:
Purchase Quality Batteries
Invest in a premium, reliable battery from a reputable brand. Avoid cheap or used batteries which are more prone to early failure or charging issues. A quality battery will power the systems properly.
Some brands you should consider when shopping for a new car battery are: Optima, Bosch, Die Hard and EverStart.
Follow Proper Installation Procedures
Refer to the vehicle owner’s manual to ensure the battery is installed correctly, with proper cable routing and tight electrical connections. This prevents any voltage flow disruption that could trigger the check engine light. If you are not able to do this yourself, it is always best to leave it to a specialist.
Most places selling car batteries will install it for free.
Check Connections Regularly
Periodically inspect the battery terminals and cables for any corrosion buildup or loosening that can interfere with electrical connections over time. Address any issues immediately to avoid problems.
Charge Battery Before Installation
Make sure to fully charge a new replacement battery before installing it in your vehicle. This provides sufficient initial voltage to the computer system. Undercharged batteries often cause check engine light issues, as well as other warning lights to come off.
Address Pre-Existing Problems
This should go without saying, but if the check engine light was already on before the old battery died, get that original problem properly diagnosed and repaired first. An unrelated engine issue can still activate the warning light later if ignored.
By understanding the link between a new battery and potential check engine light illumination, you can diagnose the specific causes and take corrective action. Proper electrical connections, battery charging, and computer resets will have your vehicle running smoothly again. Paying attention to preventative maintenance can help avoid similar issues in the future.
In Summary
In summary, a check engine light illuminating after a car battery replacement is a common occurrence due to the resetting and recalibration required for the computer system to adjust to the new power source. While frustrating, this warning light can often be resolved through methodical troubleshooting of electrical connections, battery charge, computer resets, and sensor adjustments.
Using an OBD2 scanner, inspecting terminals, properly charging the battery, completing drive cycles, and clearing codes will allow the system to re-adapt to normal functioning in most cases. For persistent issues, professional electronic testing can accurately diagnose any unrelated mechanical problems that may be causing the light to remain on even after a properly installed new battery.
With patience and diligent troubleshooting, the check engine light can be extinguished and normal engine operation restored.
Sources
Do I Need to Reprogram My Car After Battery Replacement?
How to Reset Your Check Engine Light
Engineering Coordinator with 5+ years of experience in the automotive manufacturing industry. Currently supporting vehicle development and new model launch activities at Honda Development and Manufacturing of America. Skilled at managing engineering teams, overseeing prototype builds, coordinating testing, and driving continuous process improvements. LinkedIn